If commercial photography is what you do (or thinking about doing), sooner or later you will end up in front of a product table. After all, commerce is all about selling products, and your job as a photographer is to create visuals that represent those products just the way they are, only better.

Some products are easier to shoot than another. An arrangement below represents a fairly simple job, which did not require elaborate lighting and any special tricks. Something like this can be shot in multiple different ways, yet the fastest and most straightforward technique is setting up the nature-morte in a cocoon also known as a light box. It is a square box of 24×24′ size made of a white translucent material. It was lit with two light sources: a key light set to the left at approximately 10 o’clock and an accent light at 3 o’clock. The ratio between the lights was 1:1.5. The only potential technical difficulty here is a necessity to stop down to at least f/32 to get everything in focus. It has two repercussions. First, it is only possible with a good macro lens, as regular lenses and so-called “macro zooms” do not perform well below f/11 due to diffraction. Second, if your flashes are not powerful enough, you might want to use continuous lights and a long exposure, which, in turn, will require a very stable tripod.
The tripod, however, is mandatory in product photography, whether you shoot with flashes, or LEDs. It ensures consistency of two critical parameters: framing and focusing. Also, it allows tethered shooting, which makes the whole process much more convenient, especially when there is a client next to you.
The next picture is an example of a much more intricate setup. The reason is that the product contains two photographically incompatible types of surfaces: glass and polished metal. We all know that glass objects photograph the best when lit through. What works well with glass, however, is not really suitable for reflective surfaces. Since an angle of incidence equals the angle of reflection, simple positioning of a light source behind an object will result in the light reflecting straight into the camera. It gets even more problematic if the reflective surfaces are convex or concave. A cocoon could be a solution here, but it was not feasible due to a need for access to use an eyedropper.
Using backlighting poses yet another problem: flare. Controlling it is just a matter of paying attention while looking through a viewfinder and blocking stray light with black flags in addition to the lens hood, which, naturally, always have to be in place.

Yet another problem posed by concave reflective surfaces is their merciless property of reflecting everything in a fisheye-lens-manner. Another words, without taking special precautions, you will make a cameo in the picture. Photographer’s reflection in a product shot is the biggest no-no in commercial photography, hence needs to be avoided at all costs.
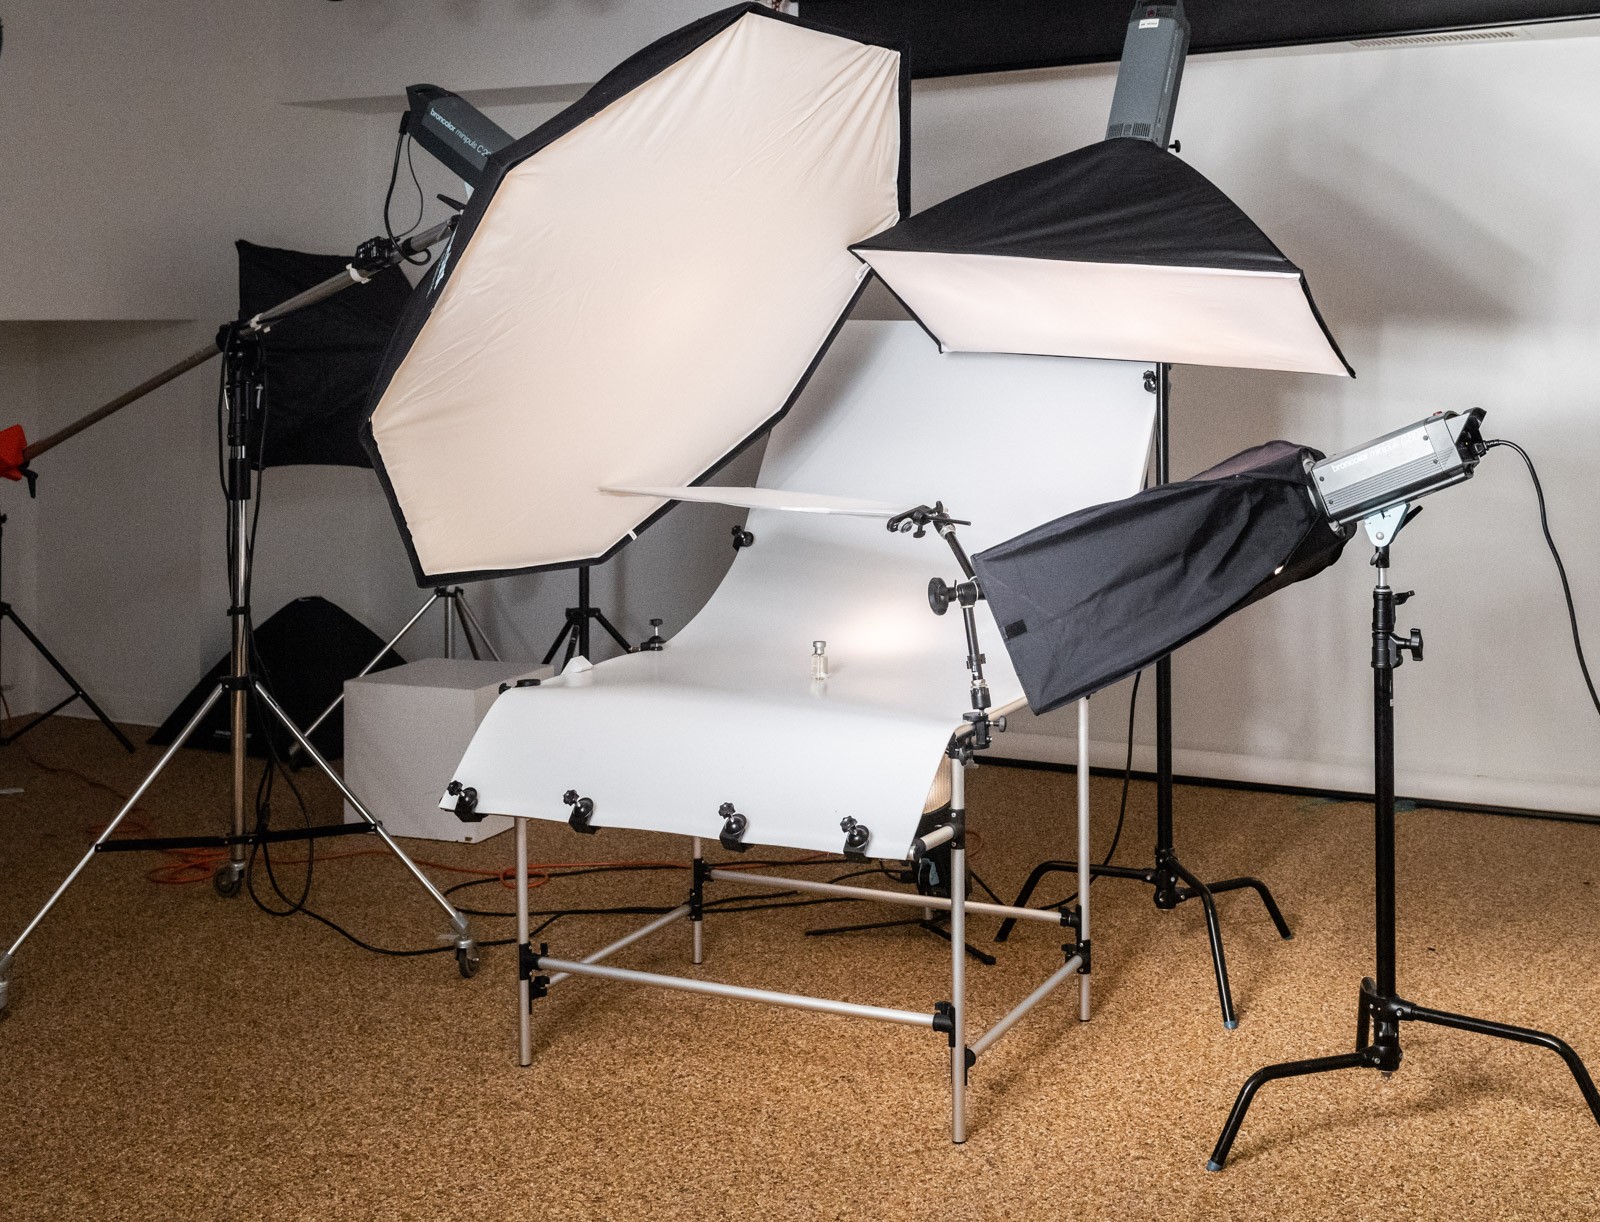
To deal with reflections in the saucer and fork, the vantage point was chosen to hide the main light (5′ octabox) behind the cup. Even the slightest shift to either side would uncover the reflection of the main light. The camera was hidden behind a black panel with a round hole to accommodate a lens. It prevented the camera reflecting anywhere. A large white panel to the right was set to fill a shadow on the bottle and create a thin rim of light on the saucer edge.
Things to remember:
- Use a big and heavy tripod if you are lucky to have one
- Get the lights as close to your product as the composition allows
- Mind your own reflection
- Be careful with specular highlights (a.k.a. reflections of active light sources)
- Using a lens hood may not be enough to get rid of flare
You must be logged in to post a comment.